I confess. I am an avid YHL reader and Pinterest addict. One day, I came across this picture and I knew I had to make it. It was the perfect solution to my makeup storage woes. I like my makeup to be easily accessible. I had been storing it in a basket/makeup bag/cup on the shelves over my toilet. But this left me with no working space, the constant need to riffle through my bag to find what I needed, and the fear of things falling in the toilet. Not good. This board would allow me to store everything in one place and be able to see all my options at once. Plus I could easily use one item, put it away, and move on to the next one. The Pinterest Challenge over on YHL was just the impetus I needed to get my butt moving on this project.
I started by looking for a frame. I checked Goodwill and a few thrift stores but everything was too small, not the right look, or way too expensive. I wanted something under $30 because I wanted to keep the total project cost under $50 and I knew paint, fabric, sheet metal, and magnets would add up quickly. I kept coming up empty-handed. Almost on the verge of giving up, I decided to check out some ready to go magnet board options. Leave it too Ikea! For $9.99 I got this round Spontan magnetic board in black.


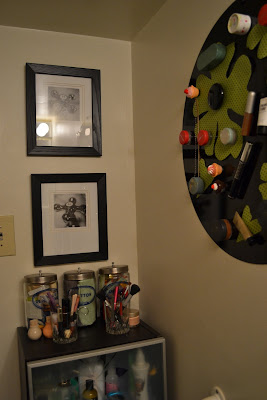
I also made a quick stop at Lowe's and obtained a few different kinds of magnets for about $13. Using the ever classic Aleene's Original Tacky Glue, I attached magnets to all my makeup products. I allowed about 12 hours of dry time before attempting to use them and then I stuck them on the board and tested their sturdiness for about 24 hours before I hung anything up. It was a good thing I did as a few needed sturdier magnets then I had chosen and would have had quite a long fall on to the tile floor otherwise. After I retested my magnets and everything held up, I hung my magnet board with three screws as directed. Now it was time to decorate.
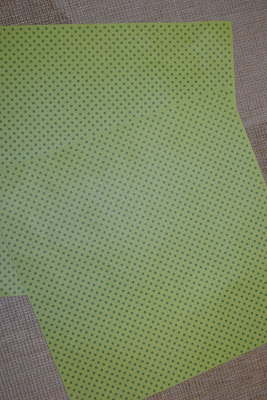
After playing around with my scrap paper, I decided to cut something out of it to attach to the board. I choose flowers to echo the flowers on the shower curtain across the room. I simply flipped the paper over and free-handed a few large flowers and leaves and then cut them out. I attached them to the board using some glue dots I already had on hand. Finally, I just stuck my makeup up! Instead of attaching cups like my inspiration project, I used glasses on top of a nearby shelf to hold brushes and pencils. Here's the finished project. Total cost? A little under $25. Not too bad!


